The Simple Process to Preserve Flowers in the Microwave
There’s something magical about roses. Their vibrant colors and intoxicating fragrances symbolize love, beauty, and celebration. Today, I’m using a microwave method of pressing flowers. It is a simple and easy way to press flowers quickly.
But fresh roses fade all too quickly, leaving us longing to hold onto their ephemeral charm. Enter microwave-drying roses—an easy method of pressing flowers that lets you capture pressed flower art in minutes, not weeks.
Whether crafting a sentimental gift, decorating for a special event, or saving a bouquet from a cherished moment, this method is fast, easy, and surprisingly effective. Let’s dive into how you can transform delicate press flowers into lasting treasures.
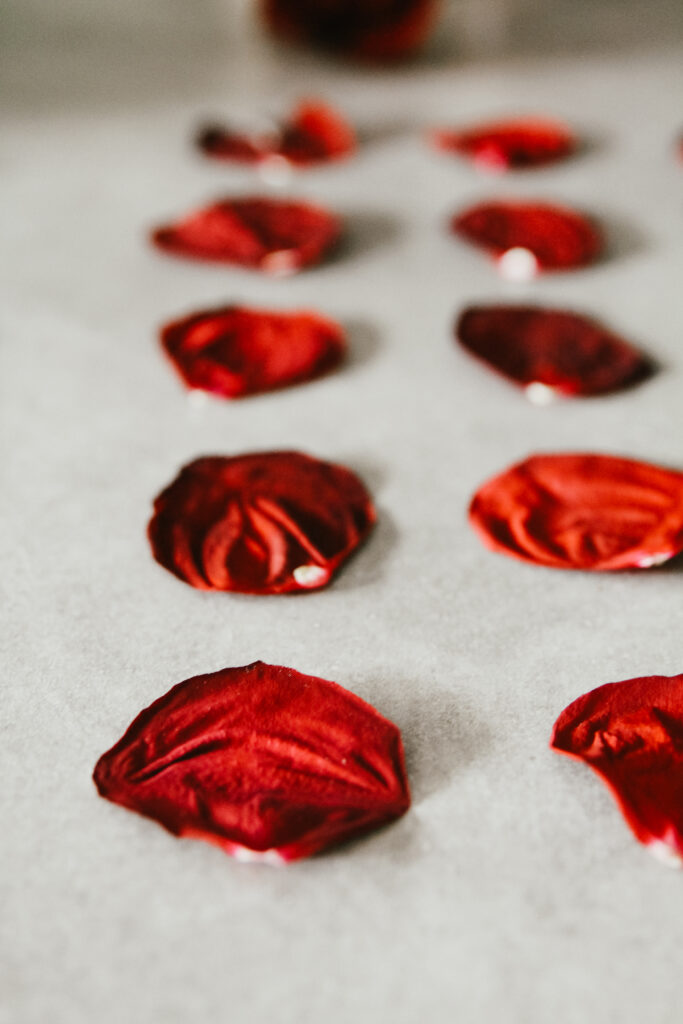
How to use a Microwave Flower Press to Dry Flowers Quickly
Traditional flower pressing can take weeks, and air drying often leaves brittle or discolored flowers. Making pressed flowers in the microwave offers speed and convenience while retaining much of the natural color and shape.
It’s perfect for impatient crafters or anyone looking to preserve flower petals for last-minute projects. Plus, it requires minimal supplies—most of which you already have at home!
What you’ll need to Press Flowers:
Gather these simple tools before starting:
- Fresh roses: Opt for just opening, as overly mature ones may bruise.
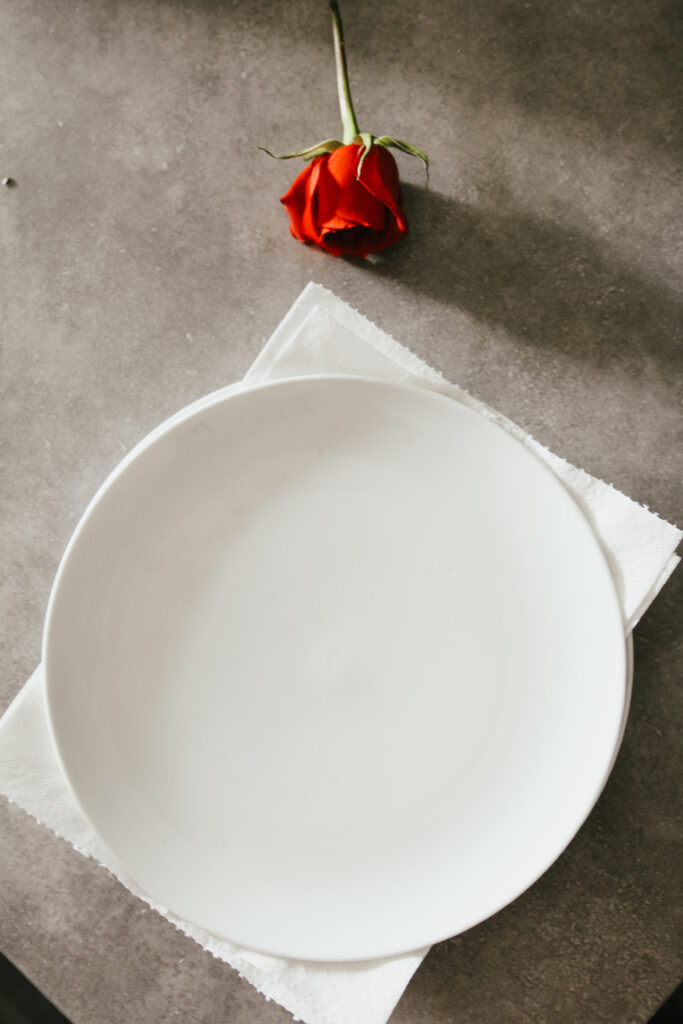
- Microwave-safe plate: Avoid metallic accents.
- Paper towels or toilet paper: These absorb moisture during drying.
- Microwave-safe heavy objects: A ceramic dish, glass bowl, or book (yes, some are microwave-safe!) work to press them flat.
Step-by-Step Instructions
Follow these easy steps to learn how to make this project using press dry flowers like a pro:

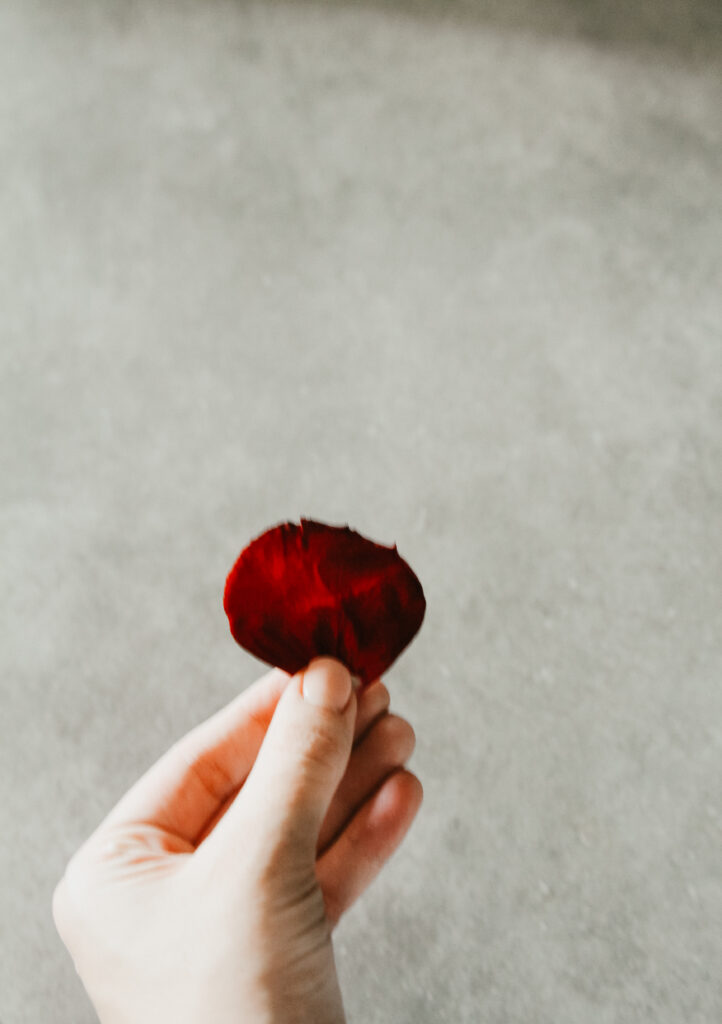
1. Prep Your Setup
Use the freshest flowers you can find.

Place a paper towel on the microwave-safe plate. This layer absorbs moisture and prevents sticking.

Arrange fresh flowers in a single layer on the towel, leaving enough room so they don’t overlap. Overcrowding leads to uneven drying—patience here pays off!
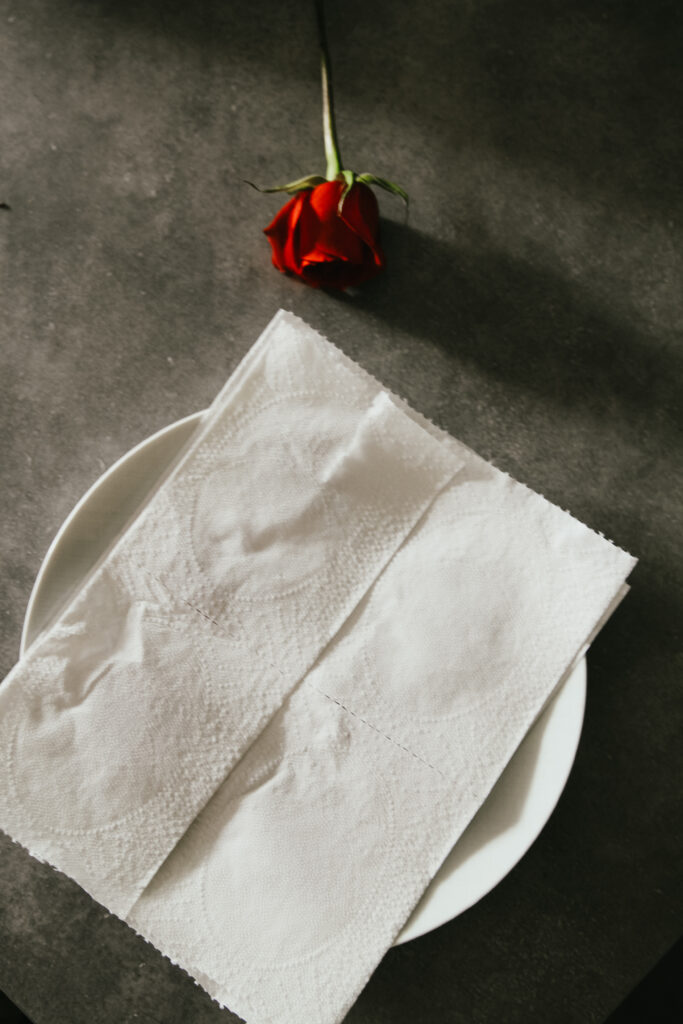
Cover them with another paper towel.
2. Layer and Press
Separate and cover them with another paper towel, then Place a microwave-safe heavy object on top of the paper towel to press the petals flat (A microwave-safe dish is what I usually use). This flattens them, giving them that classic “pressed” look.
Pro tip: If your dish is lightweight, add a microwave-safe mug filled with water for extra weight.
3. Microwave Flower Press to Dry
Set your microwave to a low-power setting (high heat risks scorching) and microwave for 30 seconds. Check the flowers every 30 seconds. They’ll likely still feel damp—this is normal!
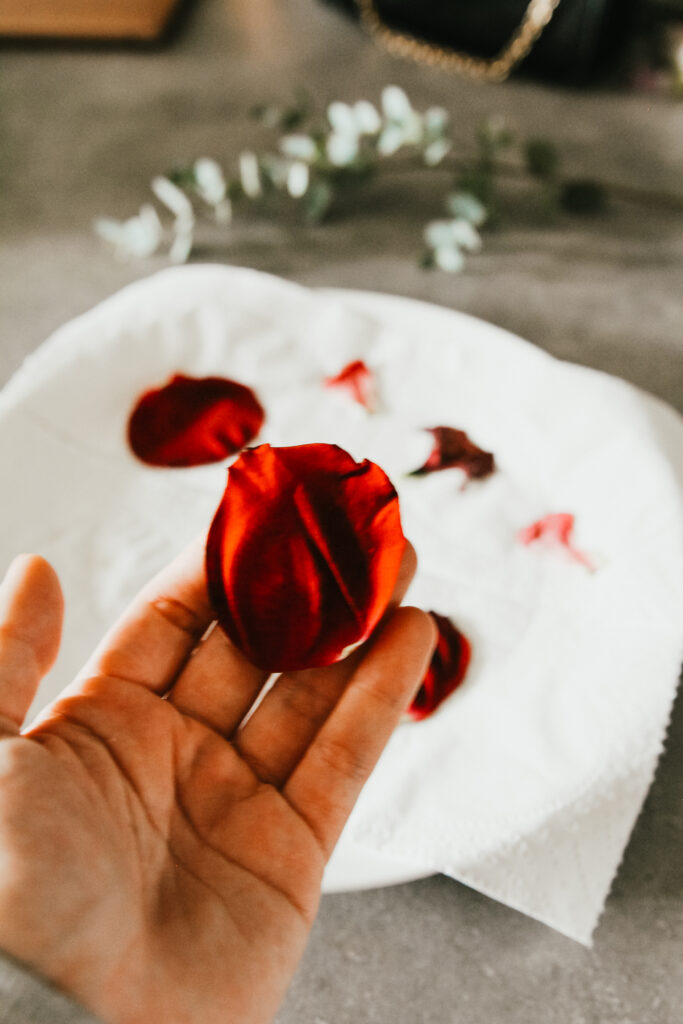
Replace the paper towels (damp ones trap steam) and repeat in 30-second bursts. Most will dry in 1–3 minutes total, but the level of heat will vary, so stay vigilant.
4. Cool and Store
Let them cool completely once they feel dry and crisp (not brittle or burned!). Depending on your microwave, this process may take about 1 to 3 minutes max.
Tip: Change your paper towels during each interval, as they’ll get moist every time.
Store in an airtight container away from light and humidity. Properly dried flowers can last months, ready for whenever inspiration strikes!
Tips To Preserve Flowers with Flawless Results
Freshness matters: Slightly wilted flowers may dry unevenly or lose color. The fresher, the better!
Track your microwave’s quirks: Note how many intervals you need for future batches. Microwaves vary in power, so the 30-second intervals needed will also vary. You may need to test this out a bit in the beginning.
Experiment with other flowers: Delicate blooms like pansies dry quickly; thicker flowers (e.g., daisies) may need more time. If you want other flowers, they may need more or less time in the microwave as each petal is different. I was hoping you could test out the 30-second/low-heat method until you get it right (I recommend writing down how many intervals each flower needs for future reference).
Avoid scorching: If you smell burning, stop immediately! Lower the power setting next time.
Don’t overlap petals, as this can cause uneven drying and pressing.
If you’re unsure what to do with your petals, you can store them in an airtight container. They’ll last a while, and you can return to them anytime.
Creative Ways to Dry Flowers
Now for the fun part—what to do with your preserved dry rose petals? Here are 10 ideas to spark your creativity:
- Handmade Greeting Cards: Glue them onto cardstock for a 3D botanical design. Perfect for weddings, anniversaries, or Valentine’s Day.
- Custom Bookmarks: Laminate them between clear contact paper for a durable, literary keepsake.
- Sentimental Gifts: Transform them into framed art or resin jewelry—a heartfelt “I love you” months later.
- Phone Case Decor: Adhere them to a clear phone case with Mod Podge for a floral tech accessory.
- Table Scatter: Sprinkle the flower bouquet down a table runner or place them in mini glass vials as rustic wedding favors.
- Scrapbooking Accents: Add texture and color to memory pages with flower clusters.
- Framed Art or a Memory Frame: Arrange them inside a shadow box in a geometric or heart-shaped pattern.
- Potpourri Upgrade: Mix completely dry flowers with cinnamon sticks and essential oils for a custom scent.
- Candle Embellishments: Press into the sides of homemade candles before they harden.
- Bath Salts or Soaps: Embed into DIY bath products for a luxurious touch.
Troubleshooting Common Issues
- Are the edges curling? Ensure they’re pressed tightly with the heavy object.
- Color fading? Some loss is natural, but microwaving on low heat will increase the chances they will retain vibrancy.
- Dampness remaining? You want them to be completely dry, so replace paper towels religiously between intervals.
Other Ways to Preserve
Choosing the correct method to preserve your roses is essential. There are several other methods to dry your rose petals, each with unique benefits. Here’s a list of 9 rose drying methods, from classic to creative:
Air-Drying
How it works: Let petals dry naturally in a cool, dark, well-ventilated space.
Silica Gel Drying
How it works: Silica gel beads absorb moisture while preserving shape and color.
Traditional Pressing (Book Method)
How it works: Flatten petals and press flower blooms between absorbent materials underweight.
Petals in the Oven
How it works: Low heat speeds up dehydration.
Flower Press to dry flowers.
How it works: A specialized press is ideal for pressing bright-colored flowers.
Sand or Borax Drying
How it works: Another way to preserve memories is by burying petals in sand or borax, which draws out moisture.
Hanging Bouquet Method
How it works: Dry entire roses upside down.
Dehydrate
How it works: A food dehydrator circulates warm air.
Freeze-Drying
How it works: Professional method using sublimation (ice turns to vapor).
Microwave drying is more than a craft hack—it’s a way to freeze time, turning fleeting beauty into lasting art. Whether preserving a bouquet from a milestone or crafting a gift infused with personal meaning, this method empowers you to make something look beautiful that is uniquely yours.
So next time you receive roses, don’t let them wilt away. Grab a plate, fire up the microwave, and let those memories shine on!